- Published on
Tradovate Setup
- Authors

- Name
- Michael W. Clark
- @MichaelW_Clark
Getting started with Apex Trader Funding and setting up your Tradovate account is a straightforward process. Follow these steps to ensure you're up and trading in no time.
1. Sign Up for an Account
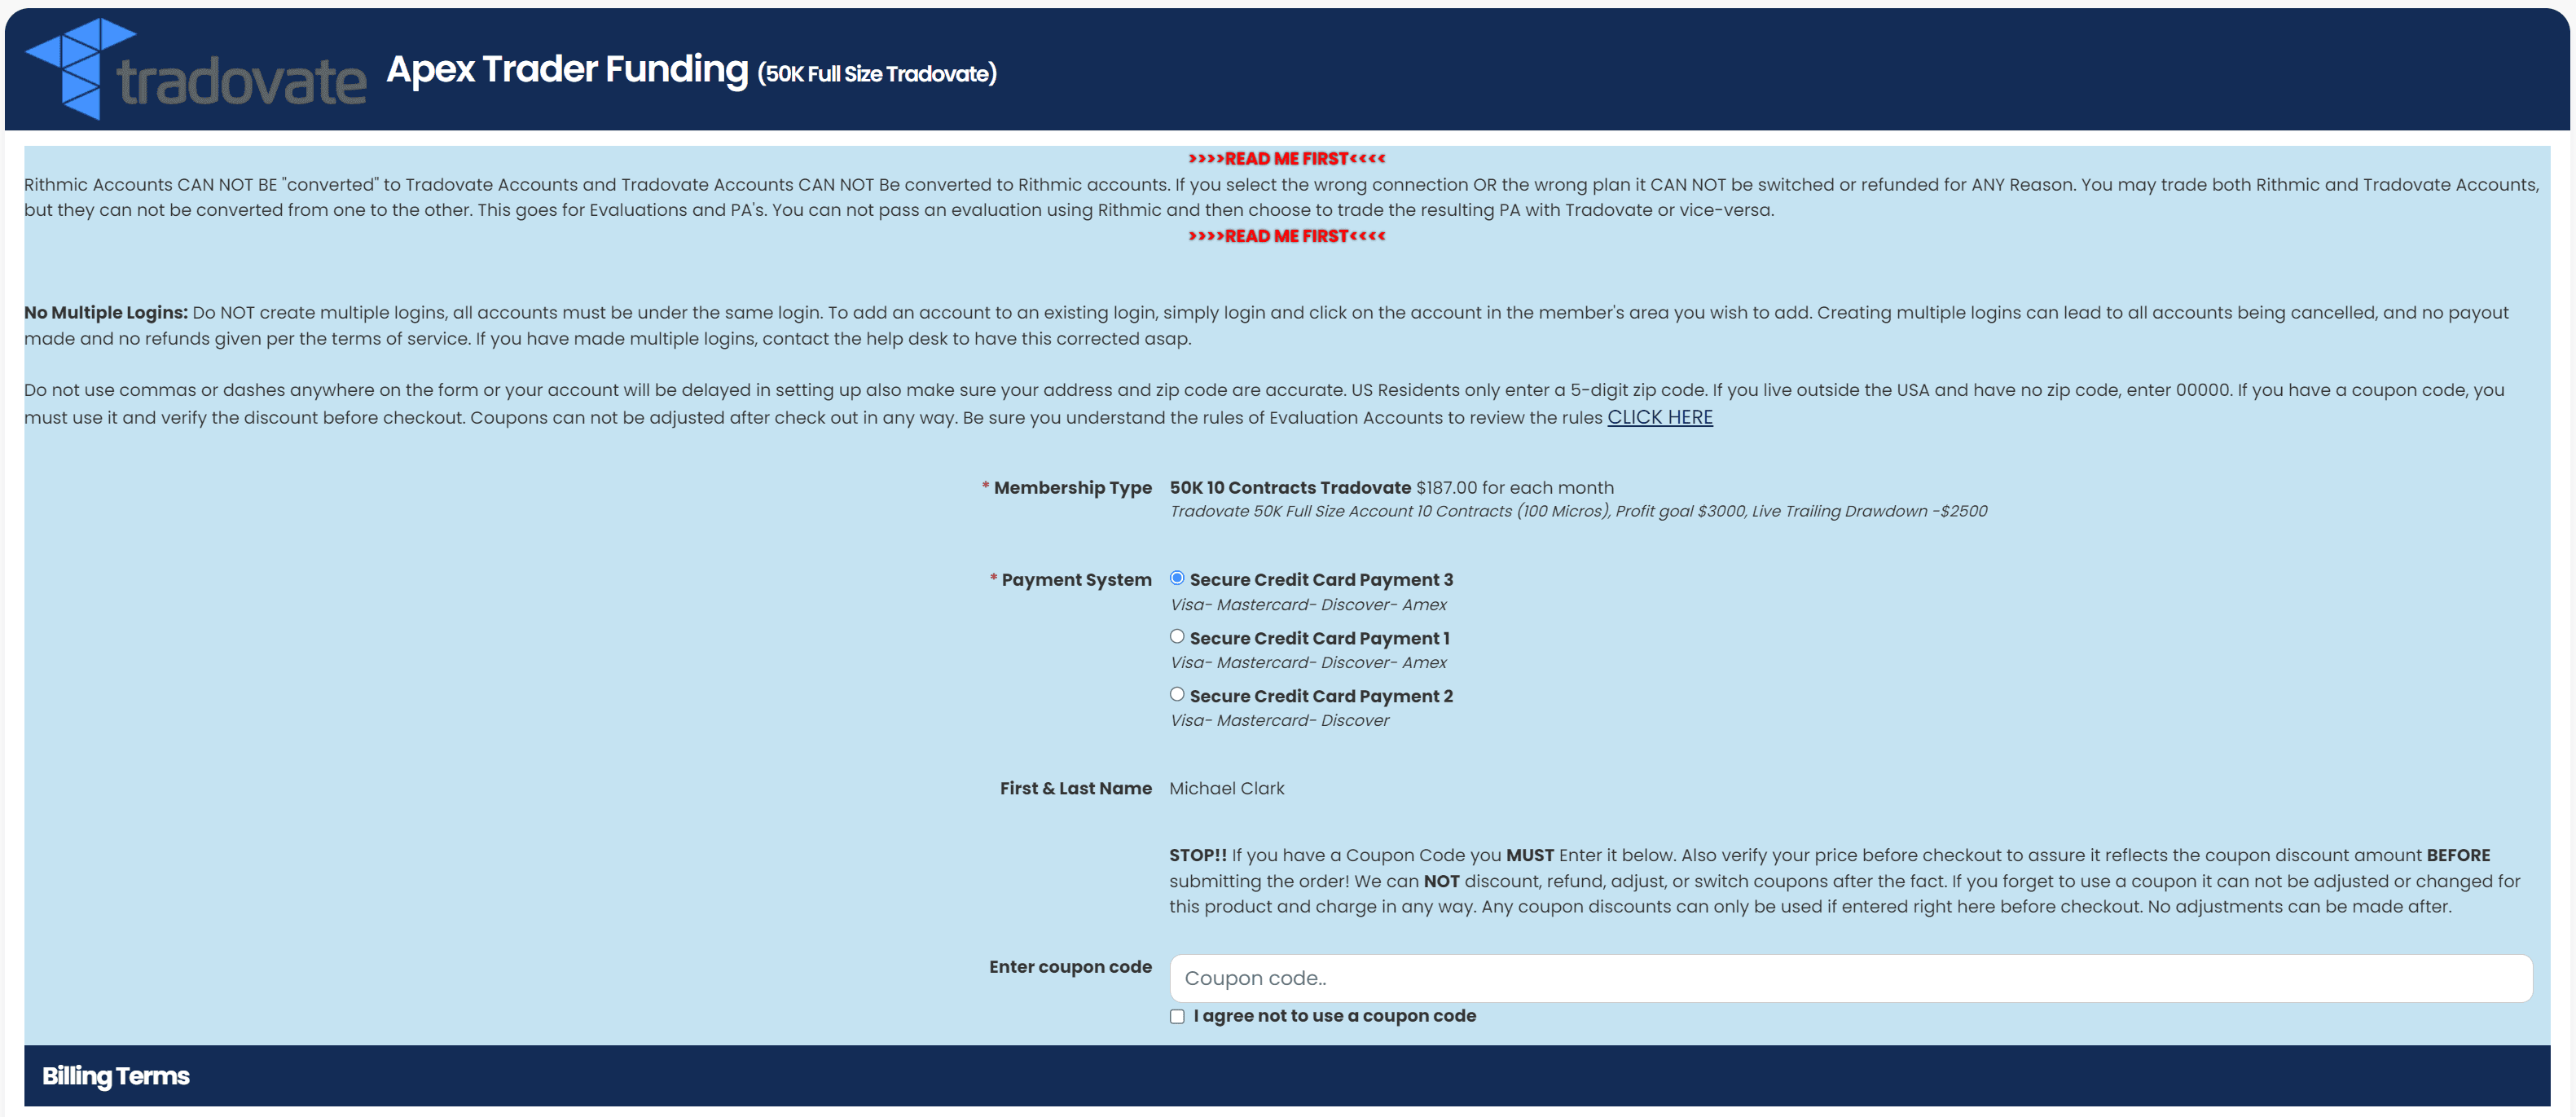
Choose the account size that fits your trading strategy and risk management preferences. For many, the **50K Tradovate account here. Using the code SIMPLYOPTIONS ensures you receive any available discounts.
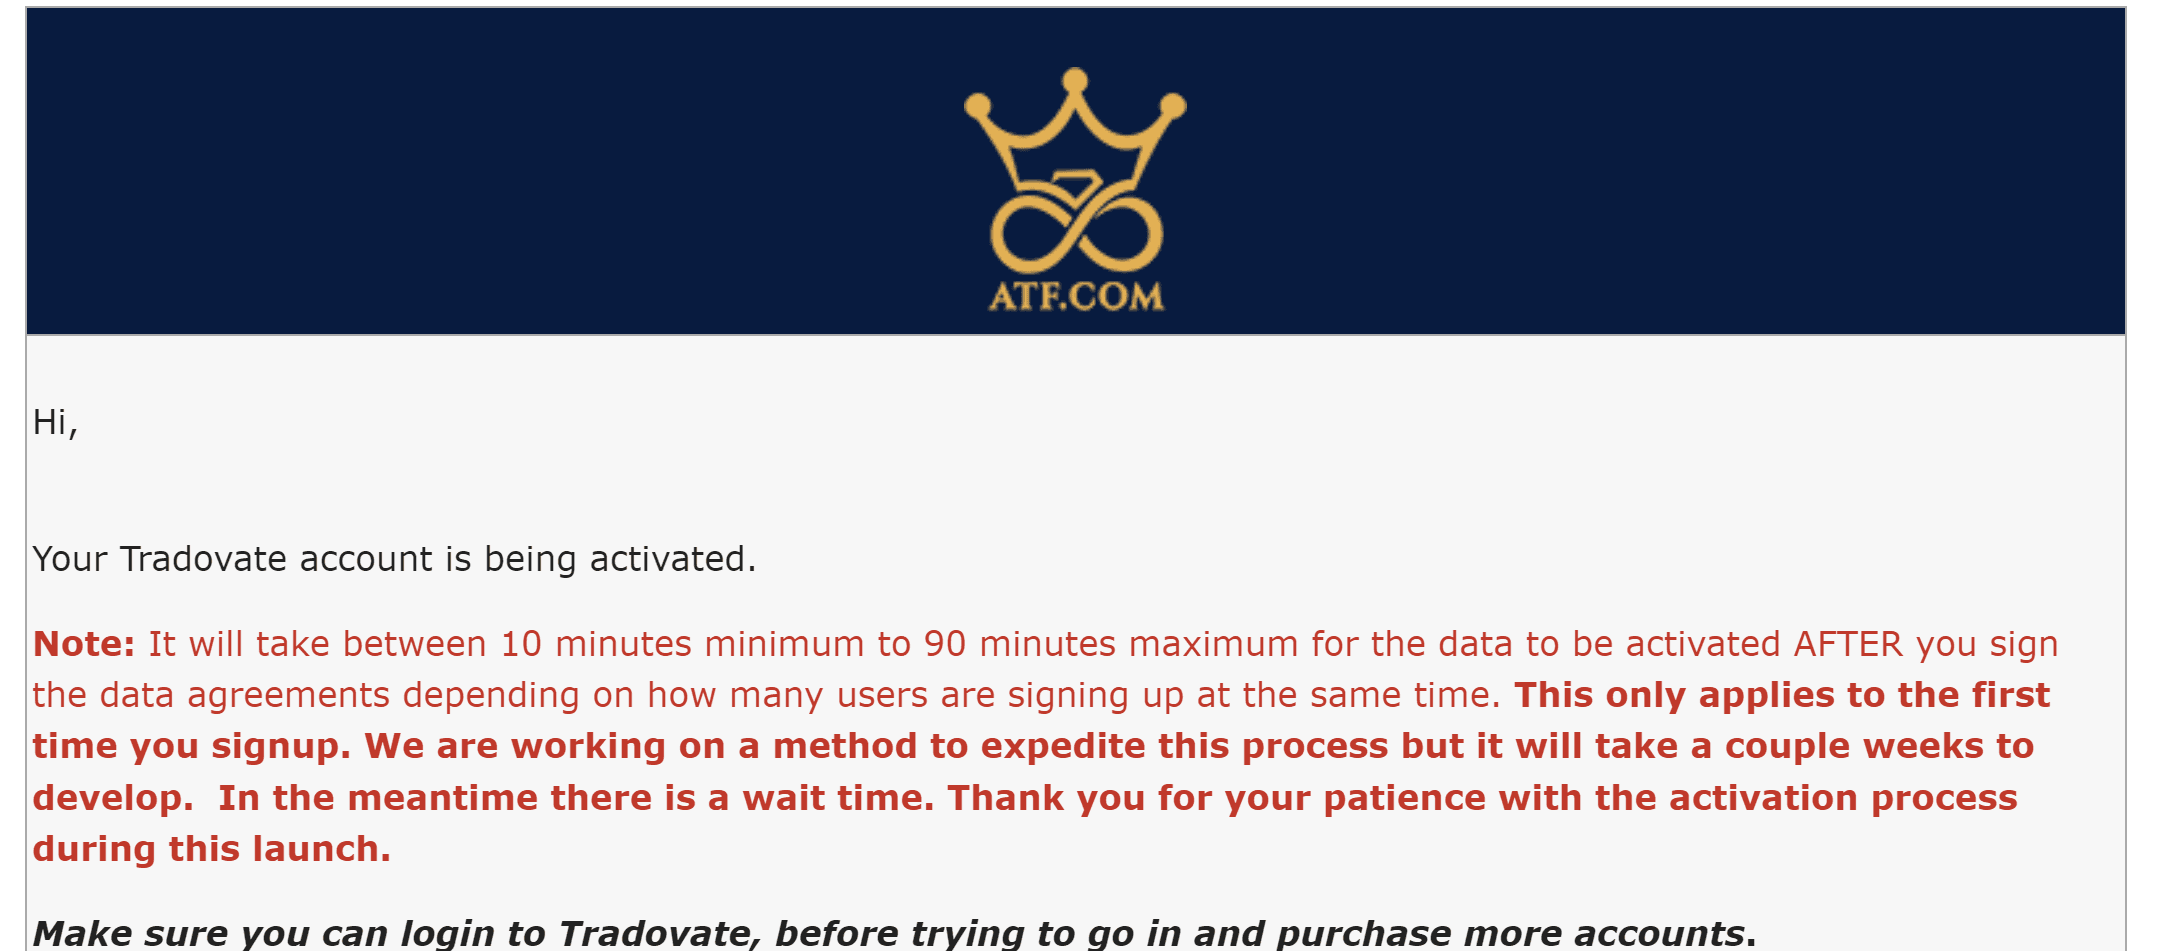
2. Await Confirmation Emails
After signing up, Apex Trader Funding will send you a series of emails to indicate that your account is being set up and when it's ready for trading.
3. Log in to Tradovate
Once your account is ready, log in to Tradovate with the account information provided on the right side of your Apex dashboard.

Upon logging in, click on the 'SIMULATION' button to view your active and ready accounts.
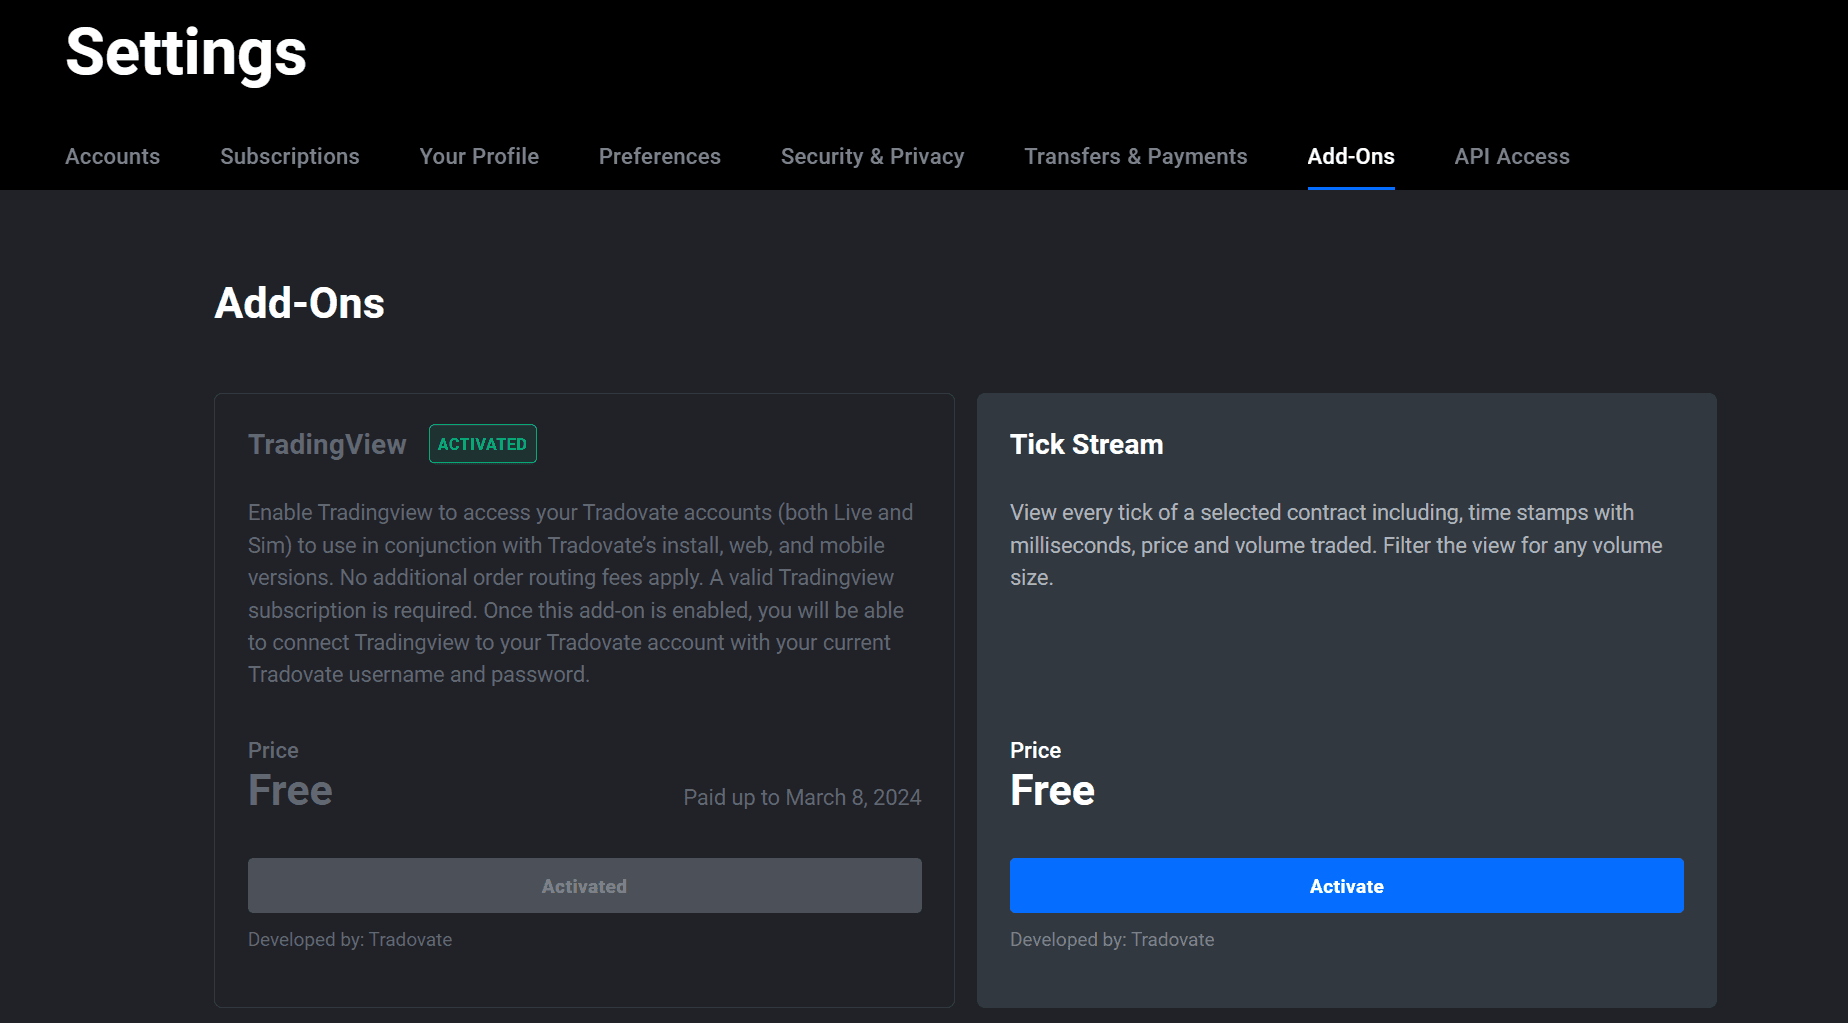
4. Enable TradingView Add-on
Enabling TradingView within Tradovate is simple:
- Navigate to "Application Settings" in the top right corner of Tradovate.
- Select "Add-ons", then click 'Activate' next to the TradingView add-on.

5. Connect Tradovate to TradingView
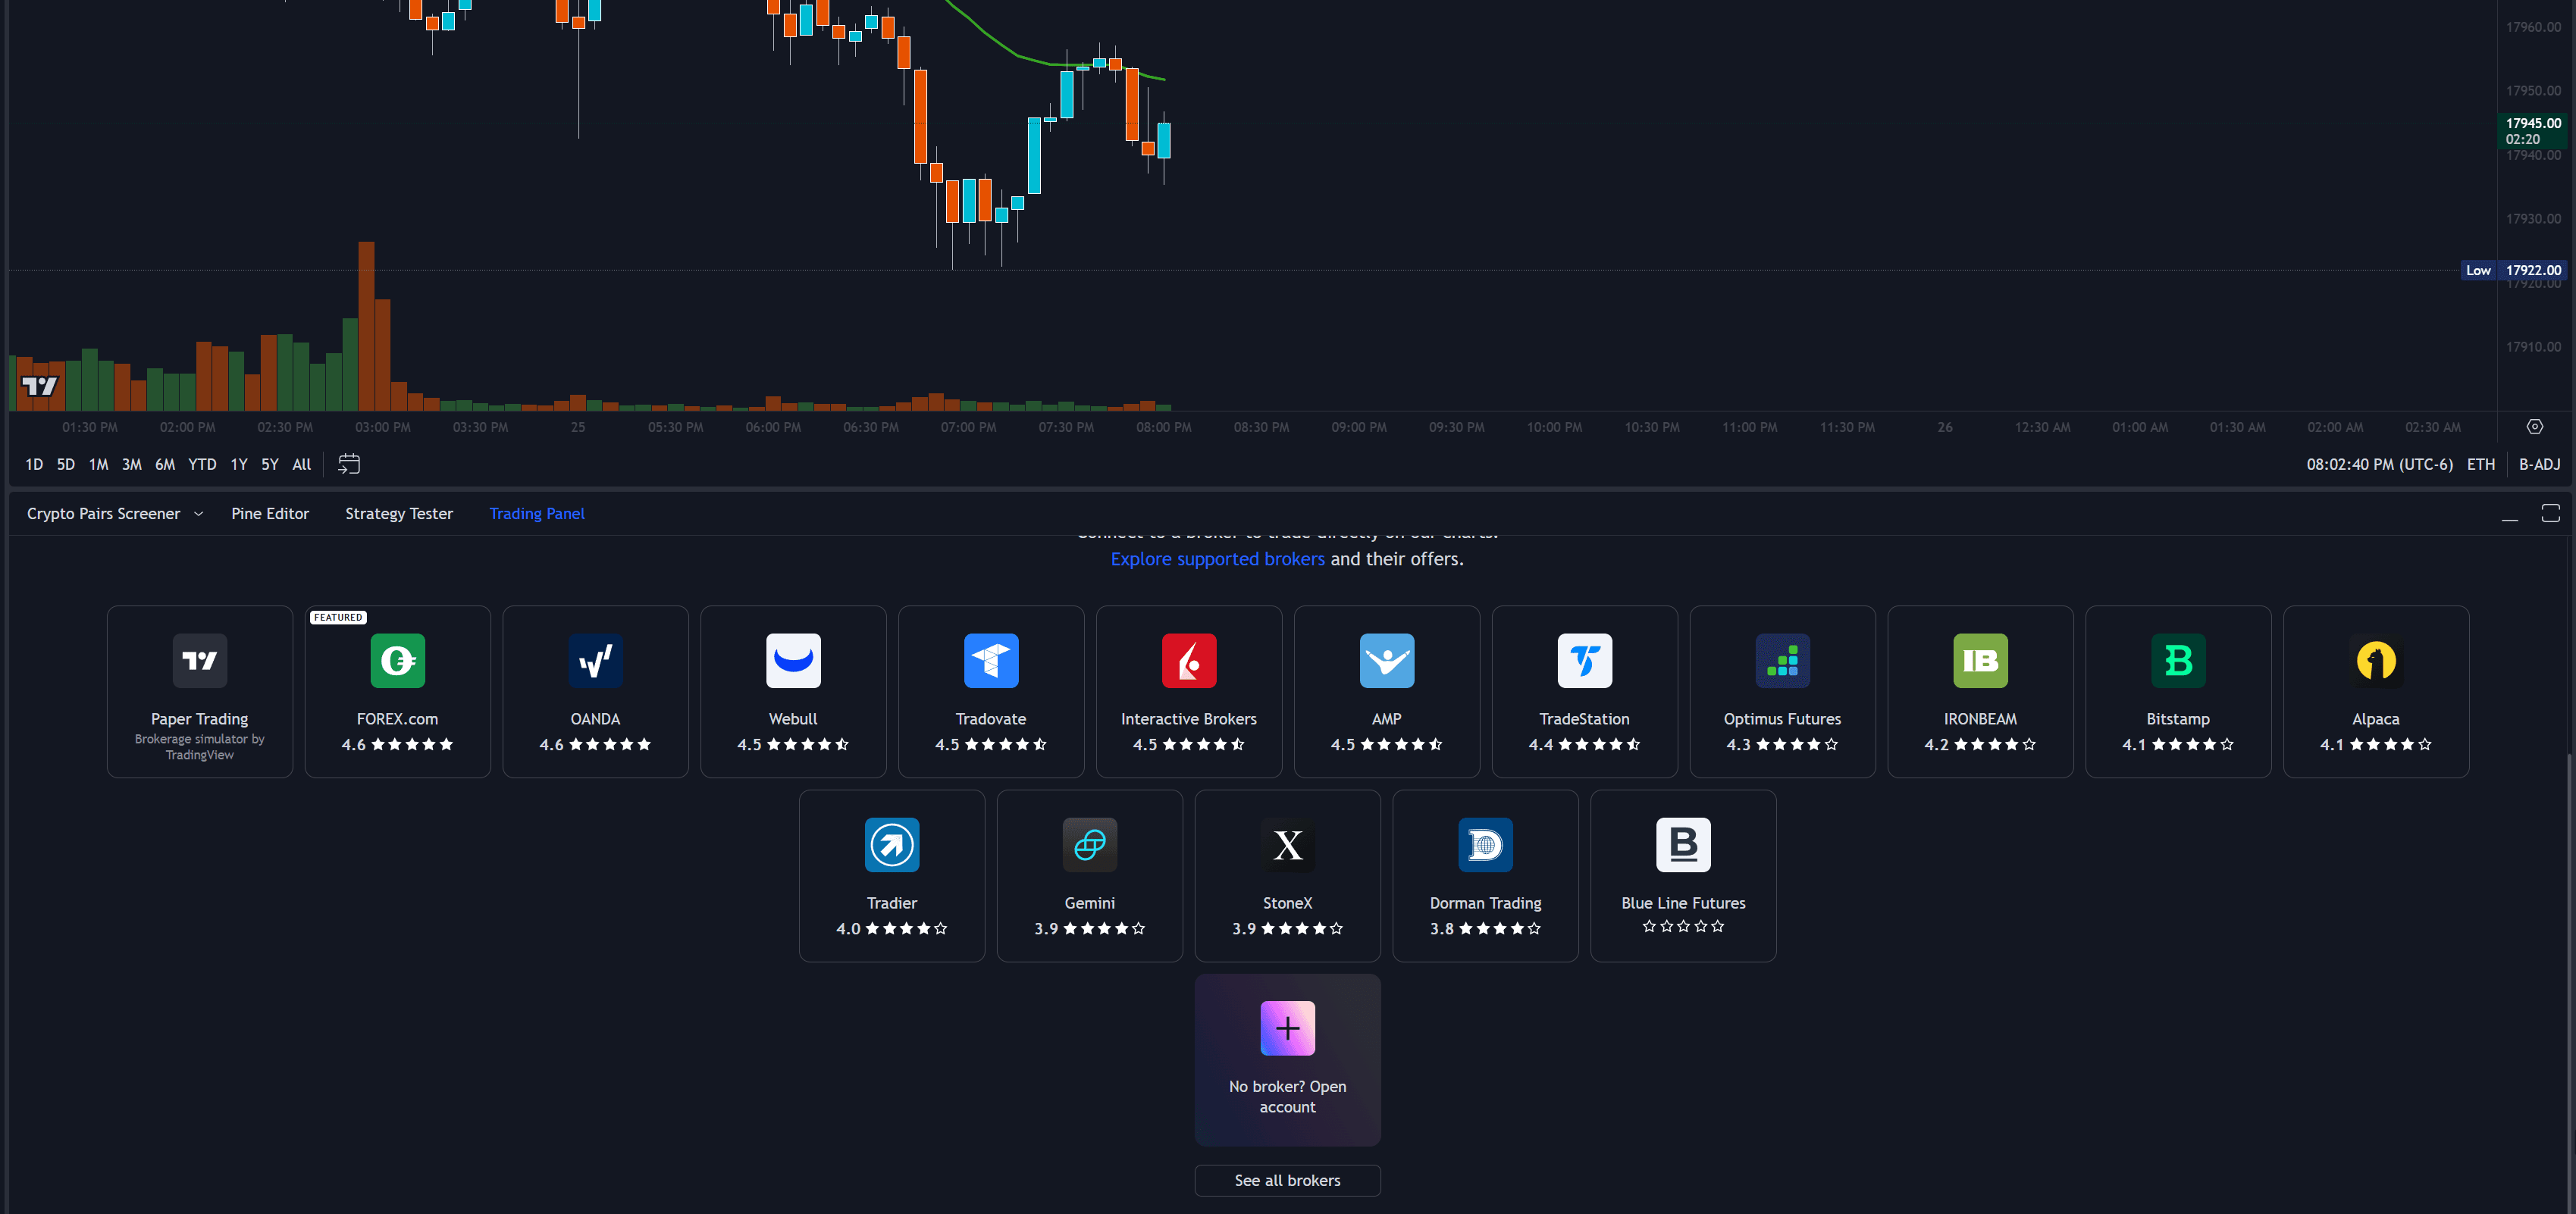
In TradingView:
- Click the Trading Panel at the bottom of the screen and select Tradovate.
- Make sure you select 'Demo' mode and then enter your Tradovate login information as found on your Apex dashboard.
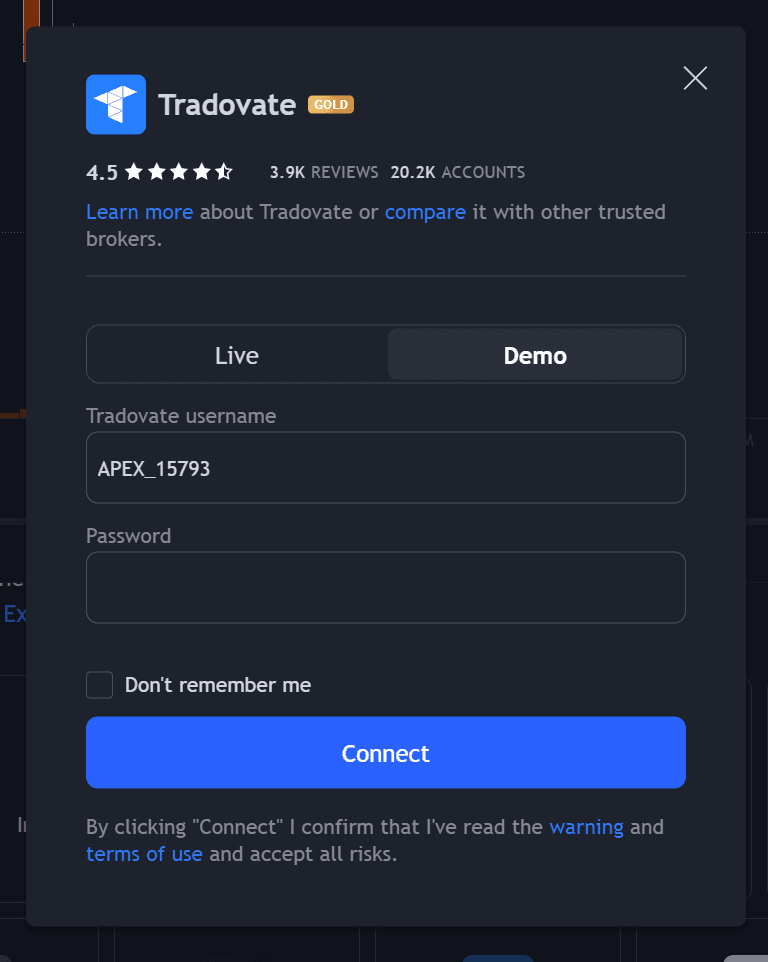
You should now see your account(s) and balance in the trading panel. Use the dropdown menu to switch between your accounts. Trades will be executed for the selected account.

Following these steps will have you set up and ready to trade with Apex Trader Funding on the Tradovate platform.